Getting Ready for a Wedding--Edging for the Beds
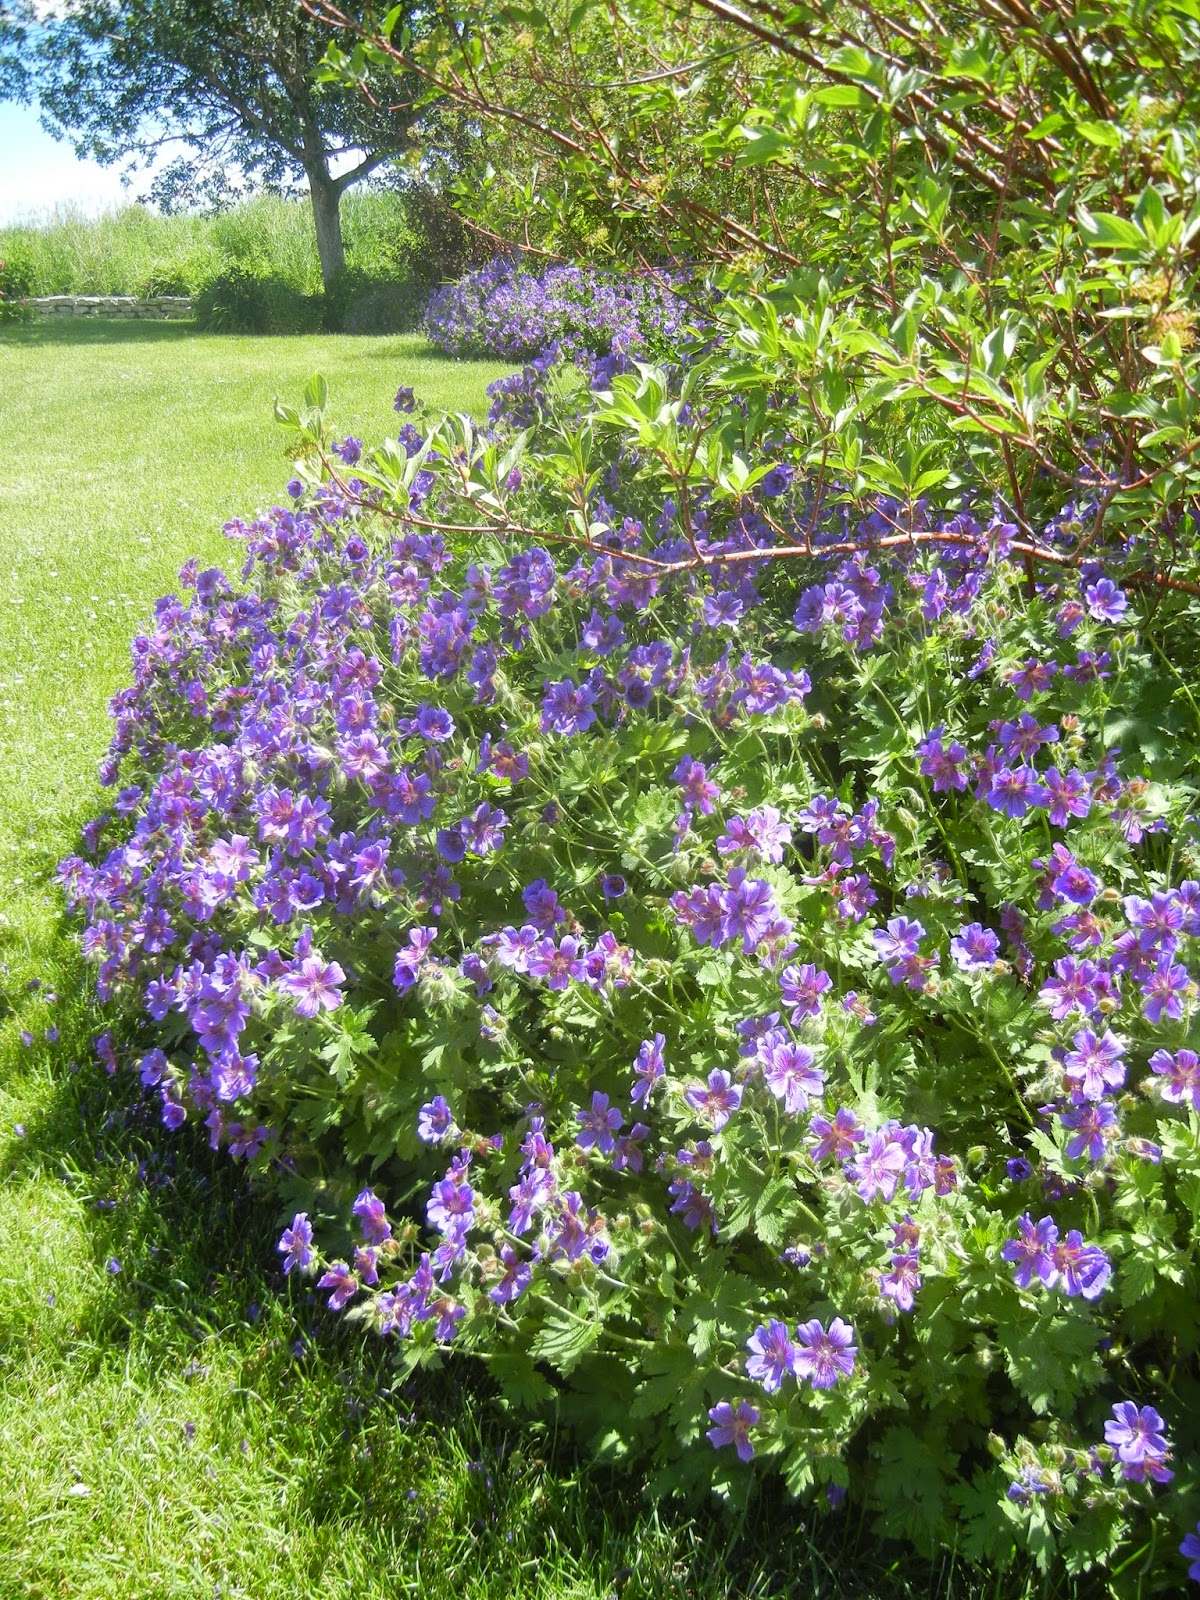 |
| While the flowers in this bed look lovely, the line between the bed and the lawn isn't well defined. |
We decided to edge the beds with pavers that match the patio. In addition to defining the line between bed and lawn, the pavers would act as a mowing strip, keeping the need of weed whacking at a minimum.
 |
| Here you can see the steel banding in front of the pavers. Once we backfill with dirt and grass is growing, the steel won't be visible. |
I have done this type of border using plastic edging instead of steel, and that might be easier for homeowners to work with than the steel. The trick with plastic is keeping it buried deep enough that it doesn't get caught by the lawn mower.
In milder climates, a paver edging like this could be set in mortar. But with the frigid winters we have in this area, mortar would quickly be broken up by frost heaves. So pavers here are set in sand over a compacted base.

Once the steel was in place, we leveled out the area next to it inside the bed to a width of about two inches wider than the pavers we were using. It is important to have the foundation wider than the pavers so they won't slip off the back.
We then put on a 2 inch layer of road base, which is a mixture of small gravel and clay. When it is moist it can be compacted and will then dry into a hard, stable surface. It is used under roads (as the name implies) and paver patios. In both of those applications, the layer would be thicker. But for an edging, a couple of inches will do.

When we did our patio, we rented a plate compactor to compact the road base. But for our edging, we used a hand tamping tool. Pounding this on moist road base compacts it sufficiently for an edging.
We then spread a thin layer of sand (about 1/2") over the road base and set the pavers on the sand. The edges of the beds were curved, so the pavers had to be splayed either inwardly or outwardly to go around the curves.
A rubber mallet was used to tamp the pavers into the sand. If necessary sand was either added or taken away to keep the pavers even. The edges around the beds were not perfectly level. This made it a situation where if we had made the edging perfectly level, it would have stuck up higher above the turf in some areas than in others, so instead of using a level to keep the pavers even, we eye balled it.

Once the pavers were all set, sand was applied and swept into the spaces between the pavers.

The soil in the bed was raked to fill in behind the pavers, and the edging was complete.


While we're here, let's revisit my damaged lawn.


Once the steel was in place, we leveled out the area next to it inside the bed to a width of about two inches wider than the pavers we were using. It is important to have the foundation wider than the pavers so they won't slip off the back.
We then put on a 2 inch layer of road base, which is a mixture of small gravel and clay. When it is moist it can be compacted and will then dry into a hard, stable surface. It is used under roads (as the name implies) and paver patios. In both of those applications, the layer would be thicker. But for an edging, a couple of inches will do.
When we did our patio, we rented a plate compactor to compact the road base. But for our edging, we used a hand tamping tool. Pounding this on moist road base compacts it sufficiently for an edging.
We then spread a thin layer of sand (about 1/2") over the road base and set the pavers on the sand. The edges of the beds were curved, so the pavers had to be splayed either inwardly or outwardly to go around the curves.
A rubber mallet was used to tamp the pavers into the sand. If necessary sand was either added or taken away to keep the pavers even. The edges around the beds were not perfectly level. This made it a situation where if we had made the edging perfectly level, it would have stuck up higher above the turf in some areas than in others, so instead of using a level to keep the pavers even, we eye balled it.
Once the pavers were all set, sand was applied and swept into the spaces between the pavers.
The soil in the bed was raked to fill in behind the pavers, and the edging was complete.
While we're here, let's revisit my damaged lawn.
After watering the lawn and waiting a week, the lawn is looking better. Not great. Not even good. But definitely better.


Excellent insights on modern metal fabrication techniques! The precision and craftsmanship in this industry truly define the quality of final products. Great read for professionals and learners alike!Read more info about corten garden edging
ReplyDelete